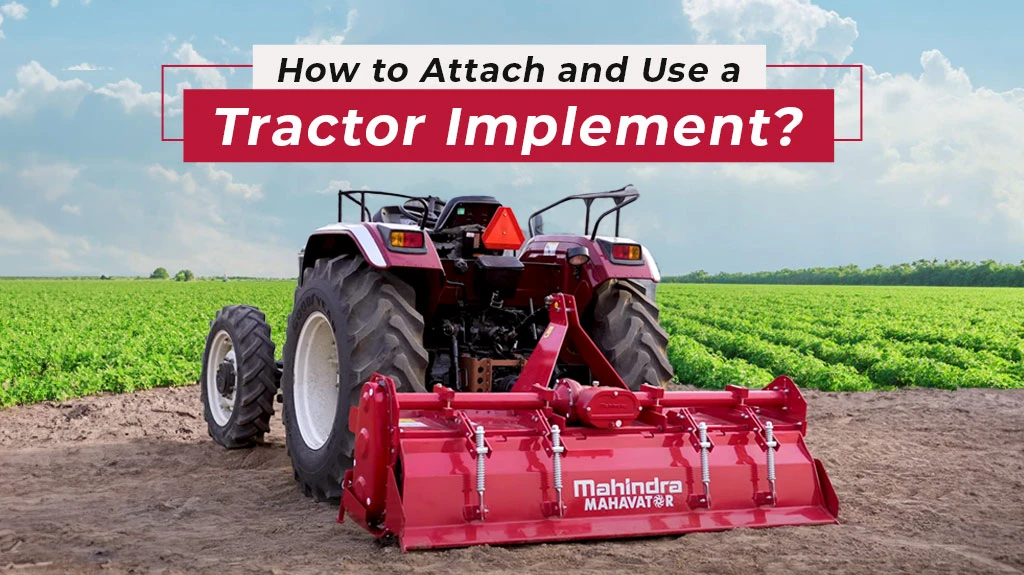
How to Attach and Use a Tractor Implement?

Table of Contents
- Introduction
- Understanding the Implement
- Attaching the Tractor Implement
- Using the Tractor Implement
- Conclusion
Introduction
Tractor implements are vital for farmers, as they significantly reduce efforts and ease the various farming tasks. These versatile attachments come in various shapes and sizes, designed to perform a wide range of functions, from ploughing fields to cutting grass and much more.
However, attaching and using these implements can be intimidating for beginners. In this blog, we will discuss the step-by-step process of attaching and using tractor implements, enabling you to harness the full potential of your farming equipment.
Understanding the Implement
Before you begin attaching and using a tractor implement, it is crucial to understand the specific type of implement you are dealing with. Implements can broadly be categorised into three main types based on how they are powered.
Ground-driven Implements
These implements rely on the movement of the tractor's wheels to operate. Examples include landscape rake and ripper. Ground-driven implements are relatively simple to use since they do not require a power take-off (PTO) or hydraulic connections. They use the draw bar power of the tractor. These are usually wider than the tractor; thus, it is necessary to remember this while manoeuvring the tractor.
PTO-driven Implements
PTO-driven implements are connected to the tractor's PTO shaft, which transfers power from the engine to the implement. These implements include rotavators, flail mowers, balers, and more. PTO-driven implements are versatile and widely used in agriculture due to their ability to perform a variety of tasks efficiently.
Hydraulic Implements
The tractor's hydraulic system powers hydraulic implements. These implements often require hydraulic connections to control their functions. Common hydraulic implements include laser land leveler, hydraulic reversible MB plough and tractor trailers. They are known for their precision and strength in handling heavy-duty tasks.
Attaching the Tractor Implement
Having understood the types of implements, let us see the steps involved in attaching an implement. The first step is safety followed by inspection, compatibility, and connectivity.
Safety First
Before you begin, ensure that the tractor is parked on a level surface and the engine is turned off. Safety should always be your top priority. Consider wearing appropriate personal protective equipment (PPE) such as gloves and safety glasses.
Inspect the Implement
Thoroughly inspect the implement for any damage, loose parts, or wear and tear. Replace any damaged or worn components before attaching it to the tractor. This can also be done after work is completed.
Check Compatibility
Ensure the implement you intend to attach is compatible with your tractor in size, power requirements, and connection points.
Three-Point Hitch
Many tractor implements are attached using a three-point hitch system. Ensure that the hitch arms on the tractor are at the correct height and angle for attaching the implement. Lower the implement onto the hitch pins and secure it with locking mechanisms or pins.
Safety Chains and Pins
Safety chains or pins may sometimes be required to provide extra security. Attach these as needed, making sure they are properly secured.
Connect the PTO Shaft (if applicable)
For PTO-driven implements, align the tractor's PTO shaft with the implement's PTO input shaft. Ensure that the shafts are properly engaged and securely connected with the help of the locking mechanism. It is essential to follow the manufacturer's instructions for PTO connection carefully.
Hydraulic Connections (if applicable)
Connect the hydraulic hoses from the tractor to the implement's hydraulic ports for hydraulic implements. Pay close attention to the colour-coded or labelled connections to ensure they match appropriately. Make sure the hydraulic connections are secure to prevent leaks.
Using the Tractor Implement
Once the tractor implement is successfully attached, it is then ready for use. Some of the steps to follow when using tractor implements are:
Engage the Implement
Begin by starting the tractor's engine and allowing it to warm up to operating temperature. Depending on the type of implement, you may need to engage it using the appropriate controls. For PTO-driven implements, engage the PTO using the tractor's control lever. Use the tractor's hydraulic control system to operate the implement for hydraulic implements.
Adjust Settings for Safe Operation
Adjust any settings on the implement, such as cutting height, depth, or speed, to suit the specific task. Refer to the implement's user manual for guidance. Always operate the tractor and implement it within safe operating parameters.
Maintenance and Planning
During operation, periodically check the implement for any signs of wear, damage, or loose parts. Address any issues promptly to prevent accidents and maintain optimal performance. When working in the field, plan your route in advance to minimise unnecessary passes and overlaps. This will help conserve fuel and ensure efficient use of the implement.
Final Check
When you have completed your task, disengage the implement, and shut down the tractor following proper procedures. Secure any loose components and detach the implement for storage if necessary. After use, clean the implement thoroughly to prevent the build-up of dirt and debris. Store the implement in a dry, sheltered area to protect it from the elements and extend its lifespan.
Conclusion
Using tractor implements is essential for anyone involved in agriculture or landscaping. Whether you are a seasoned farmer or a beginner, understanding how to attach and use these implements correctly is vital for efficiency, productivity, and safety. Remember to always prioritise safety by wearing the appropriate gear, inspecting your equipment, and following manufacturer guidelines.
By familiarising yourself with the different types of tractors implements, understanding their compatibility with your tractor, and following the step-by-step attachment process, you can confidently harness the power of these tools to streamline your farming and landscaping tasks. Additionally, consistent maintenance and safe operating practices will ensure that your tractor implements serve you well for years to come, making your work in the field more manageable and productive.


Related Blogs


